

Have you ever mixed a lovely blue on your palette, then put it on paper and wondered where all the colour went? Or tried to paint a pale wash and ended up with something much darker than you expected? Getting a feel for how much water to use takes a little practice, and this is one of my favourite ways to do it.
We’re going to paint a tiny sea using just one blue. We’ll start with a pale wash, build up to a deeper blue at the bottom and finish with a little sailing boat. By the end, you’ll have a painting you can pop into your sketchbook or Tiny Visual Diary.
What you’ll need
A small square of watercolour paper
One blue watercolour and a palette to mix it on
A round brush, clean water and a scrap of paper for testing
A little masking tape if you’d like a white border
A fine brush and dark paint for the tiny boat
1. Start with a pale blue wash
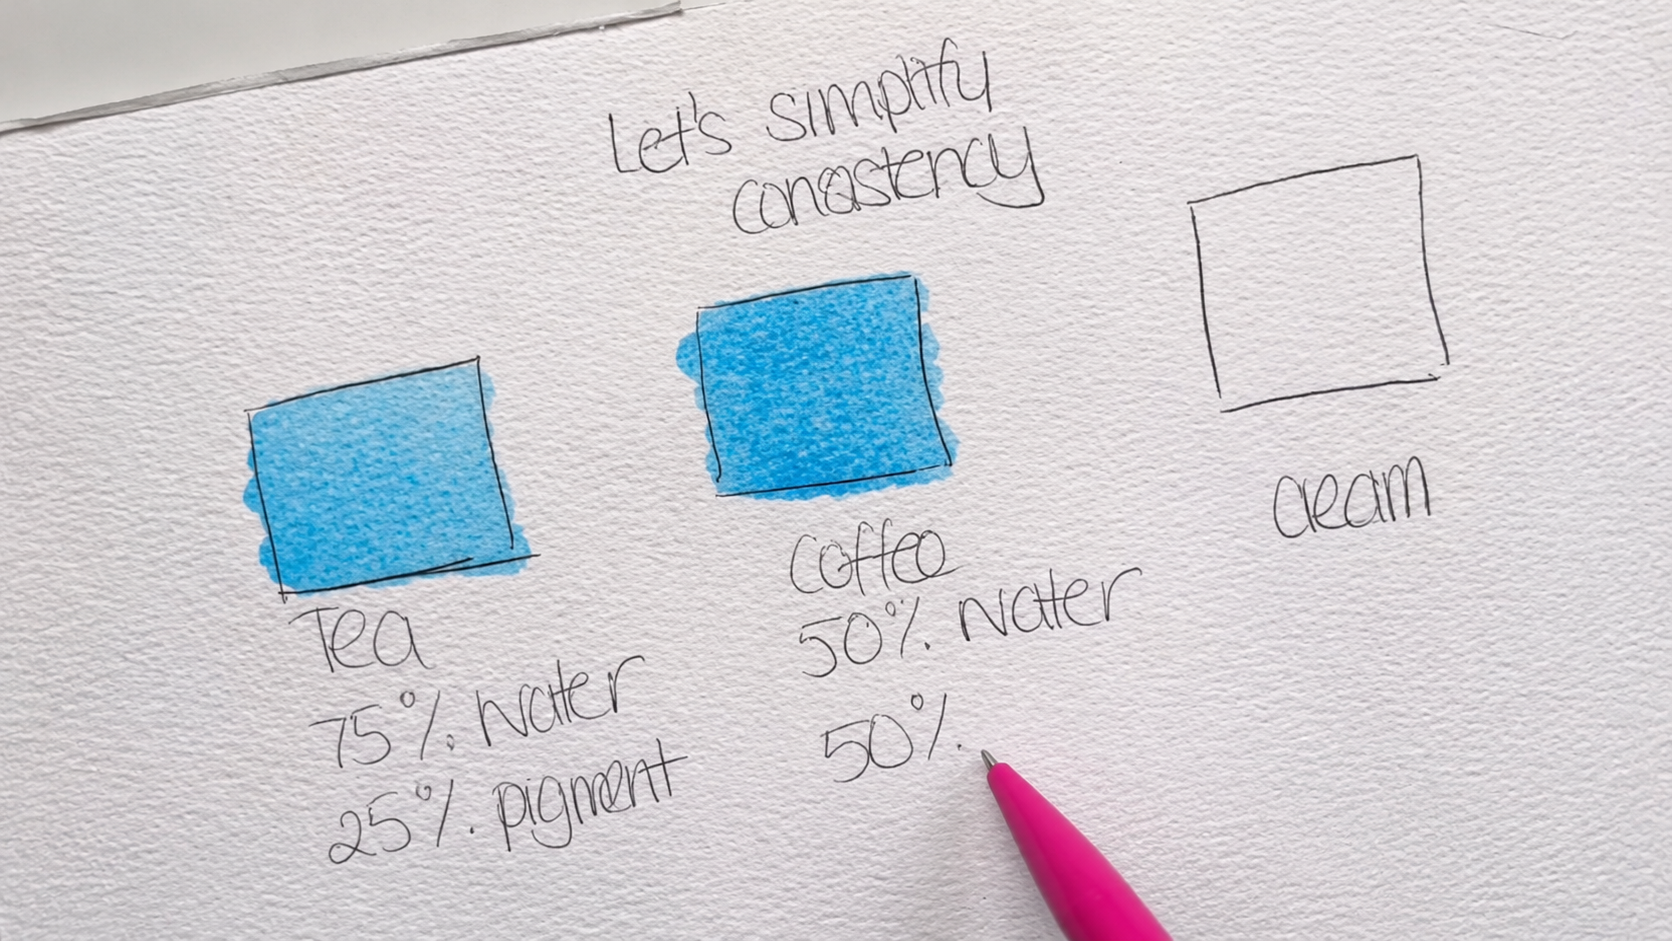
Mix a small amount of blue with clean water and try a stroke on your scrap paper. You’re looking for a blue that’s just strong enough to see against the white. If it looks darker than you’d like, stir a little more water into the mix and test again.
Paint a gentle wave across the upper part of your square, then fill in below it with the pale wash. Let your brush rise and fall as you go. A slightly uneven wave looks right at home here.
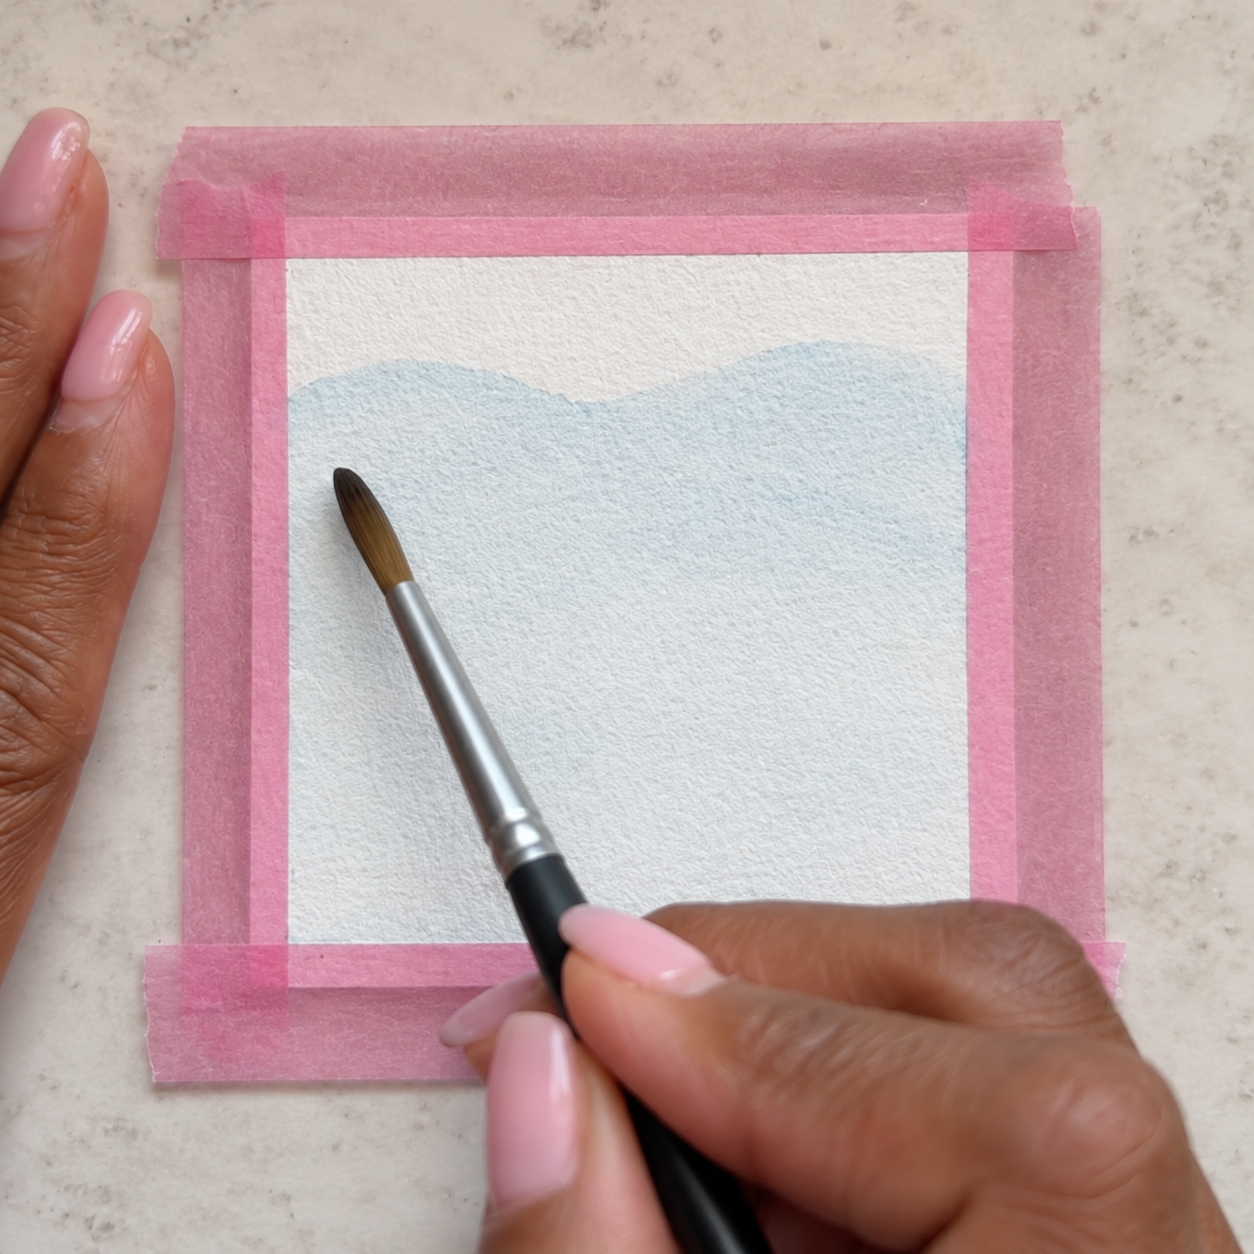
2. Make each wave a little darker
Let the first wash dry so the next wave keeps its edge. Add a little more of the same blue to your mix, test it on your scrap paper and paint another wave a bit further down. Leave some of the lighter layer showing above it.
Keep working down the page, deepening the blue as you go. If two layers look almost the same, try adding a little more pigment to your next mix. If a wave starts to blur into the one above, give the paper a little longer to dry before you carry on.
Tiny tip 🎨 If your brush leaves a puddle as soon as it touches the paper, lightly blot it on a tissue before you try again. You can keep the same pale mix on your palette and carry a little less of it on your brush.

3. Add a tiny sailing boat
Once the waves are dry, add a little hull and a triangular sail with the tip of a fine brush. I like to tuck the boat into one of the lighter waves so the silhouette stands out. If you’ve used tape, peel it away slowly once the painting is dry to reveal the white border.

Paint Tiny Waves with me
In this 12-minute paint-along, you can see how pale I start and how the blue builds with each wave. Grab your brush and paint with me at your own pace. Watch Tiny Waves on YouTube
If you’d like a little more help with your brush and palette, my How Much Water Should I Use? lesson walks you through what to look for before you start painting.
Keep painting with my free starter guide
If you’ve got watercolours and would love to feel more confident using them, my free Tiny Watercolour Starter Guidegives you six simple lessons to work through at your own pace. We’ll start with a simple kit, practise brush marks and water control, then sketch and paint a tiny lemon together.


Build confidence with watercolour, one tiny wave at a time. Practise mixing pale and deeper blues, layering simple waves and finishing with a little sailing boat.